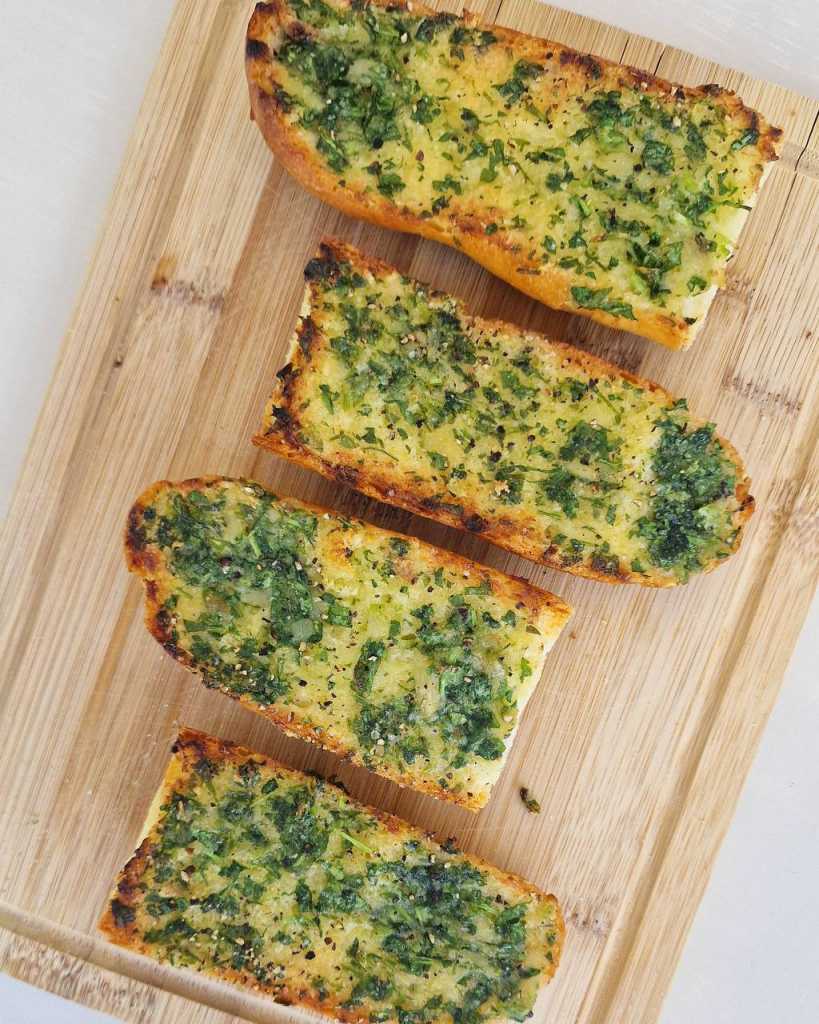
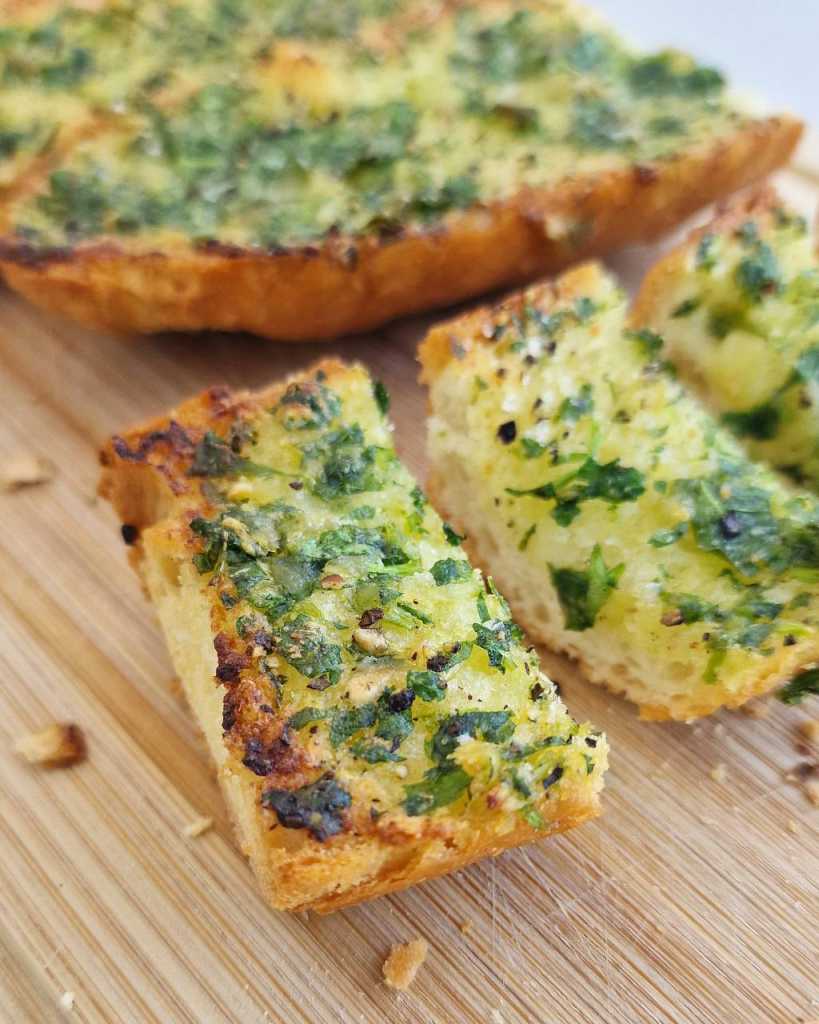
Crispy garlic bread made with baguette is a delicious and easy-to-make side dish or appetizer that is perfect for any occasion! I like it with soup or salad, it’s an excellent complement for such dishes.
What is the best bread to use for garlic bread?
The best bread is bread that has a firm and dense texture, such as a baguette, French bread, or Italian bread. These breads have a crispy crust and a soft and chewy interior, which makes them perfect for absorbing the garlic butter and becoming crispy on the outside when baked.
Baguette is a popular choice for making garlic bread because of its long and narrow shape, which makes it easy to slice into pieces. It also has a great texture that can hold up well to the garlic butter and baking process, resulting in a crispy and flavorful garlic bread.
Italian bread is another good choice for garlic bread because of its thick and hearty texture. It has a more rustic flavor that complements the garlic and butter well. French bread is also a good option, as it has a similar texture to baguette and can be easily sliced into pieces.
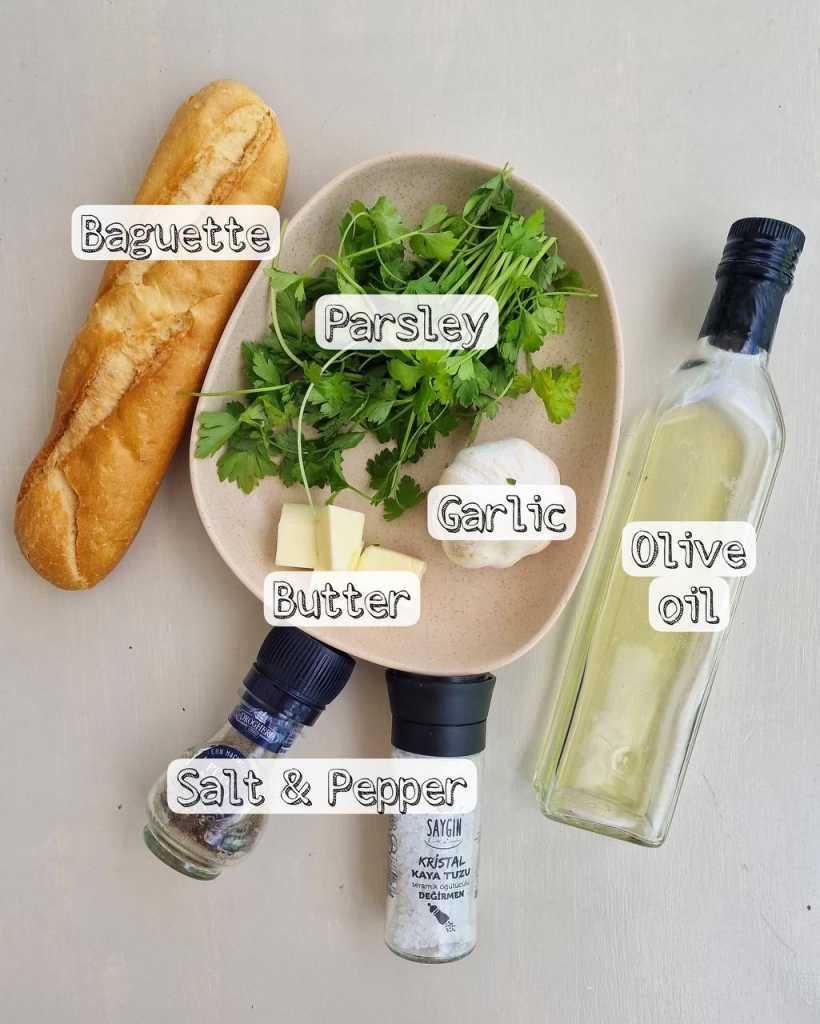
Ingredients for the best garlic bread
Here is a brief description of each ingredient in making crispy garlic bread with baguette:
- Baguette: Baguette is the main ingredient in garlic bread. It provides the crispy and crunchy texture that contrasts well with the soft and savory garlic butter.
- Garlic: Garlic is the star ingredient that gives the bread its distinctive flavor and aroma. It also has many health benefits, such as reducing inflammation and boosting the immune system.
- Butter: Butter is used to create a smooth and creamy garlic spread that is easy to apply to the bread. It also adds richness and flavor to the bread.
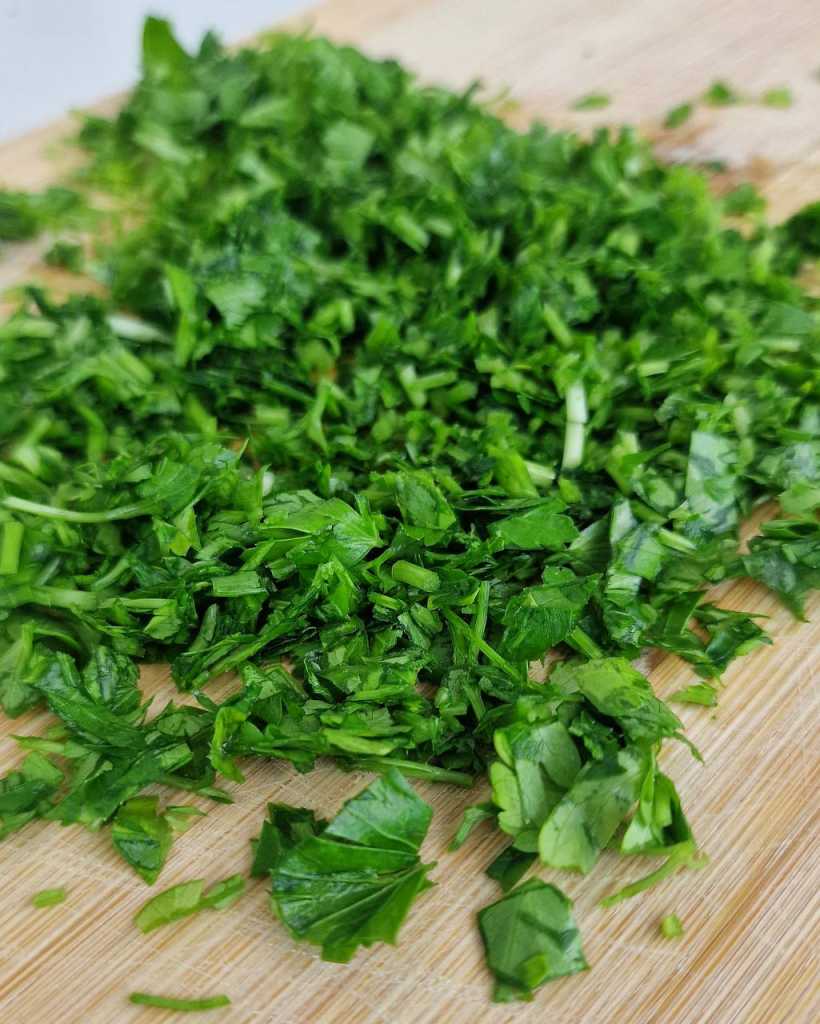
- Parsley: Parsley is an optional ingredient that can be added for flavor and color. It adds a fresh and bright flavor that complements the garlic and butter.
- Salt and Pepper: Salt and pepper are used to season the garlic butter spread and the bread. They help to enhance the flavor of the other ingredients and create a well-balanced taste.
How to make Crispy Garlic Bread
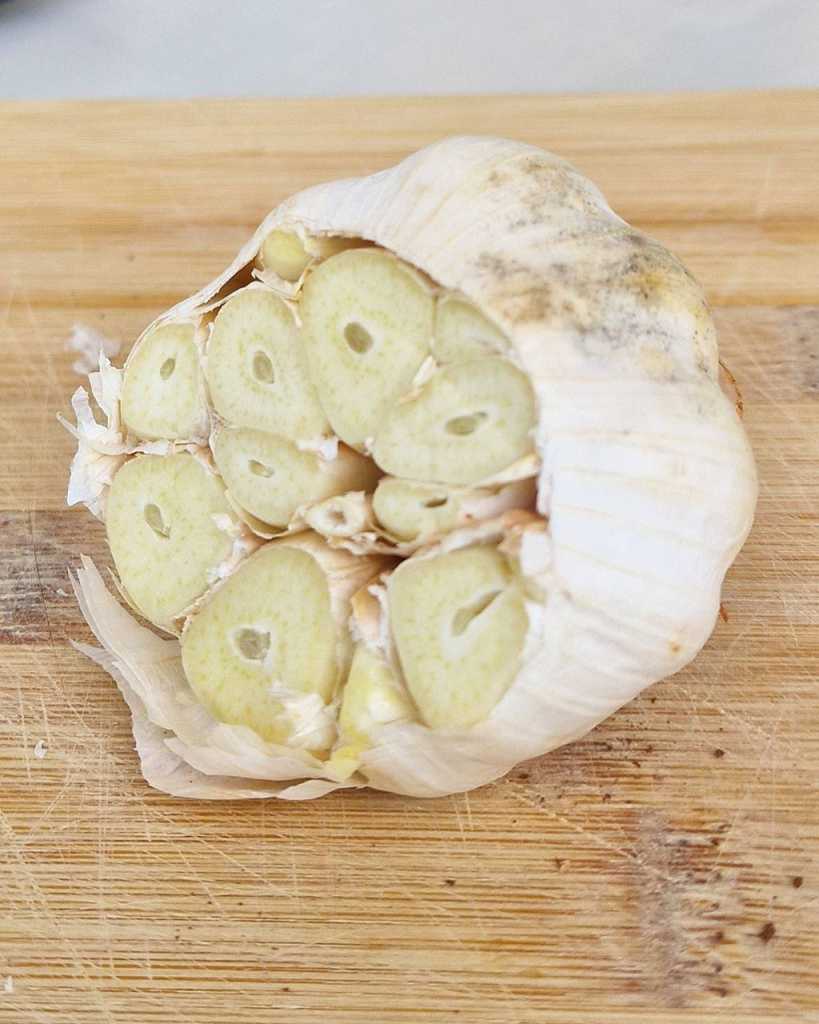
Start by preheating your oven to 375°F (190°C). Cut off the top of the garlic head to expose the cloves inside.
Place the garlic head on a piece of aluminum foil and drizzle it with a little bit of olive oil. Wrap the garlic tightly in the foil and place it in the oven. Bake for 35-40 minutes or until the garlic is soft and caramelized. Remove the garlic from the oven and let it cool for a few minutes.
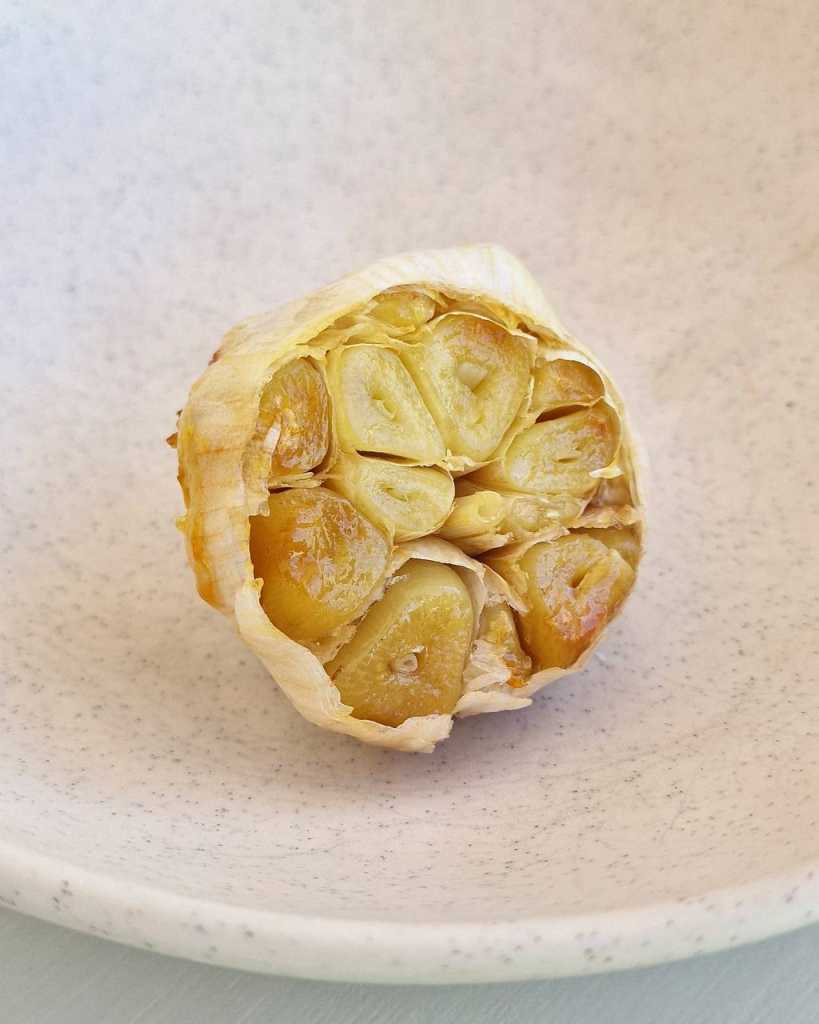
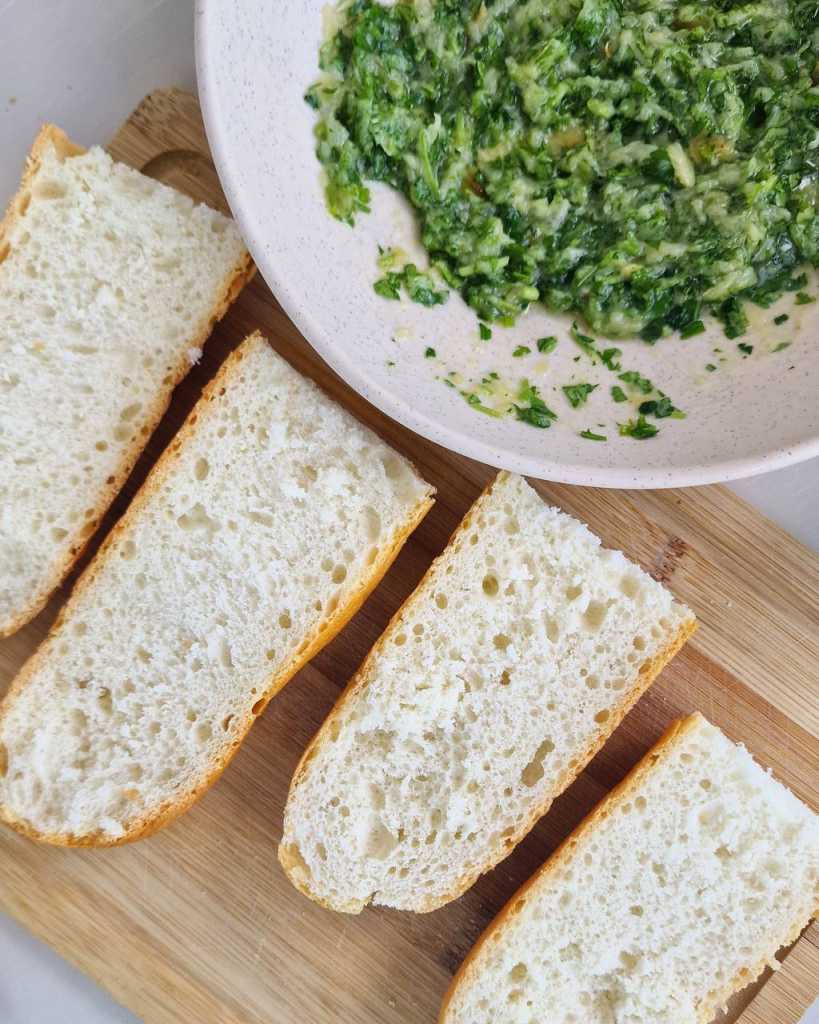
Squeeze the roasted garlic cloves out of the head and into a small bowl. Add the softened butter and chopped parsley to the bowl and mash everything with a fork until it becomes a smooth paste.

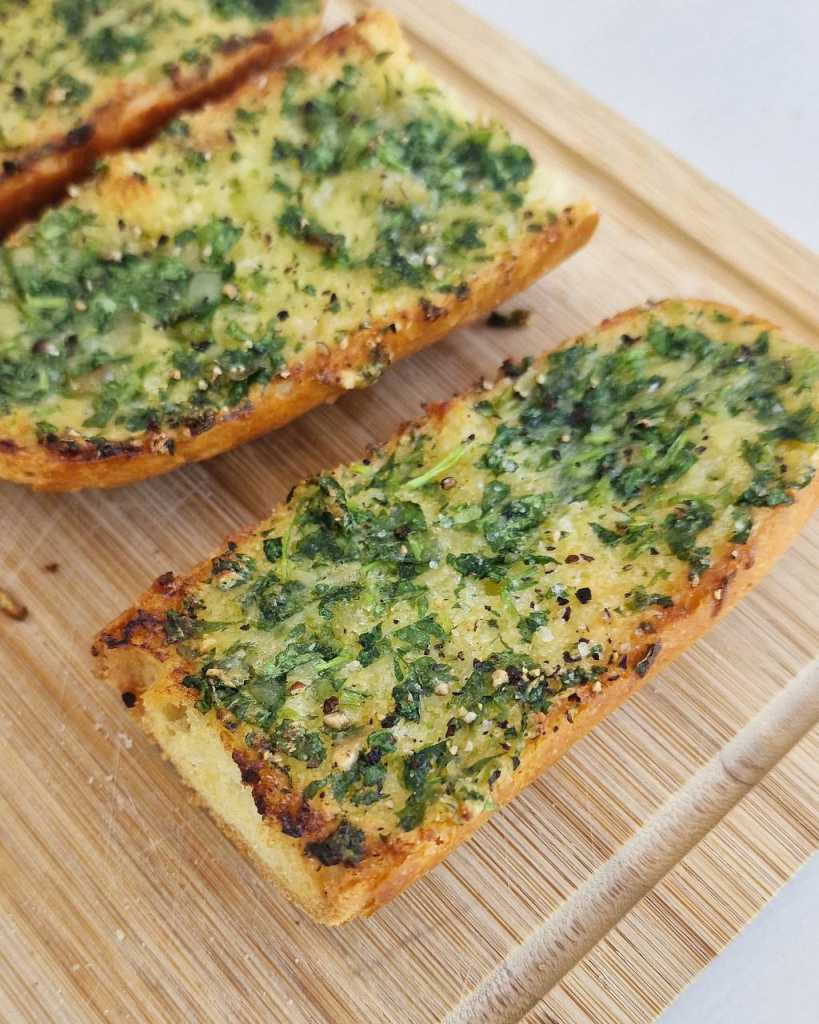
Cut the baguette in half lengthwise and place them on a baking sheet. Spread the garlic butter paste generously onto each slice of bread. Season with salt and pepper to taste.

Bake the bread in the oven for 10-12 minutes, or until it’s crispy and golden brown. Serve immediately and enjoy!
Tips for the best garlic bread
- Use fresh ingredients: Use fresh bread, garlic, and herbs for the best flavor. Fresh ingredients will have more flavor and aroma, and will make your garlic bread taste better.
- Use real butter: Use real butter instead of margarine or other substitutes for a richer and more delicious garlic butter spread.
- Don’t over-bake the bread: Bake the bread just until it’s golden brown and crispy on the outside, but still soft and chewy on the inside. Over-baking can make the bread dry and tough.
- Let the bread cool before slicing: Let the bread cool for a few minutes before slicing it into pieces. This will allow the garlic butter to set and prevent the bread from becoming too soft or falling apart.
- Add herbs for extra flavor: Add chopped herbs, such as parsley or basil, to the garlic butter for extra flavor and color. This will also make your garlic bread more visually appealing.
By following these tips, you can make the best garlic bread that is crispy, flavorful, and delicious.
How to store Homemade Garlic Bread?
It is best served fresh out of the oven, but if you have any leftovers, here’s how you can store them:
- Let the garlic bread cool completely at room temperature before storing it.
- Wrap the garlic bread tightly in aluminum foil or plastic wrap. Make sure that it is sealed properly to prevent air from entering and causing it to become stale.
- You can store the garlic bread at room temperature for up to 2 days. After that, it may start to become dry and lose its crispy texture.
- If you want to store the garlic bread for longer, you can freeze it. Wrap it tightly in plastic wrap and then place it in an airtight container or a freezer bag. It will keep for up to 2-3 months in the freezer.
- To reheat the garlic bread, preheat your oven to 350°F (175°C). Remove the foil or plastic wrap and place the garlic bread on a baking sheet. Bake for 5-10 minutes or until it’s heated through and crispy again.
Remember that reheated garlic bread will not be as crispy and fresh as when it was first made, so it’s best to consume it as soon as possible after baking.
What to serve with this Homemade Garlic Bread?
It is a delicious and versatile side dish that pairs well with many different meals. Here are some ideas for what to serve with your homemade garlic bread:
- Pasta: Garlic bread is a classic side dish for pasta dishes, such as spaghetti, lasagna, and fettuccine alfredo. The garlic bread complements the rich and savory flavors of the pasta and provides a nice contrast in texture. Here are some good pasta recipes which garlic bread complements well:
- Soup: Garlic bread is also a great accompaniment to soups. The bread can be dipped in the soup and provides a satisfying crunch. Here are some good soups recipes:
- Salad: Garlic bread can be a nice addition to a salad, especially if the salad has a rich and hearty flavor profile. It can be used to mop up any dressing left on the plate. Herea are some good salad pairings:
- Appetizers: Garlic bread can also be served as an appetizer on its own or with dips such as hummus or baba ganoush.
Garlic bread is a versatile side dish that can be paired with many different types of cuisine.

Crispy Garlic Bread
Ingredients
- 1 head of garlic
- 1 tbsp olive oil
- 1 baguette
- 4 tbsp butter, softened
- 2 tbsp fresh parsley, chopped
- salt and pepper to taste
Instructions
- Preheate your oven to 375°F (190°C). Cut off the top of the garlic head to expose the cloves inside. Place the garlic head on a piece of aluminum foil and drizzle it with a little bit of olive oil. Wrap the garlic tightly in the foil and place it in the oven. Bake for 35-40 minutes or until the garlic is soft and caramelized.
- Remove the garlic from the oven and let it cool for a few minutes. Squeeze the roasted garlic cloves out of the head and into a small bowl. Add the softened butter and chopped parsley to the bowl and mash everything with a fork until it becomes a smooth paste.
- Cut the baguette in half lengthwise and place them on a baking sheet. Spread the garlic butter paste generously onto each slice of bread. Season with salt and pepper to taste. Bake the bread in the oven for 10-12 minutes, or until it's crispy and golden brown.
- Take it out of the oven, cut into pieces, serve and enjoy!

Crispy Garlic Bread